
接下來 …
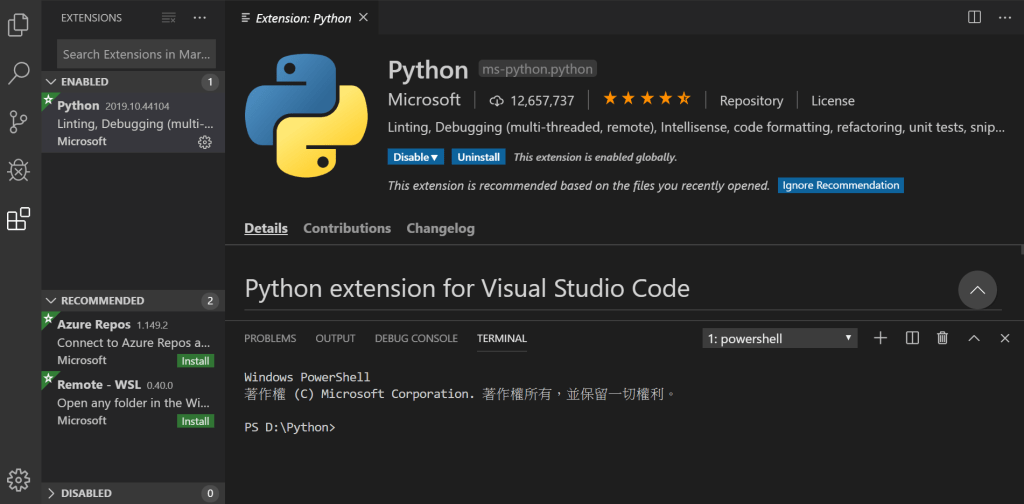
Tensorflow(1) 中,我們已經可以下指令執行 Python 了。接著,為了讓寫程式更簡單一點,我打算搭配 VS CODE,讓我的寫程式的效率更高。VS CODE 有很好的介面跟外掛,而且可以直接在 VS CODE 上面執行程式碼。所以今天打算把 VS CODE 加上 Tensorflow 的環境建立好。
Next …
In Tensorflow(1), we already executed Python by command line. Next, I am going to install VS CODE in order to code more efficiently. VS CODE supports good interface and plug-in. You can run code directly in the VS CODE. So today, I am going to build VS CODE and set up the python environment.
Steps
1.Install Python
2.Set up your environment parameter
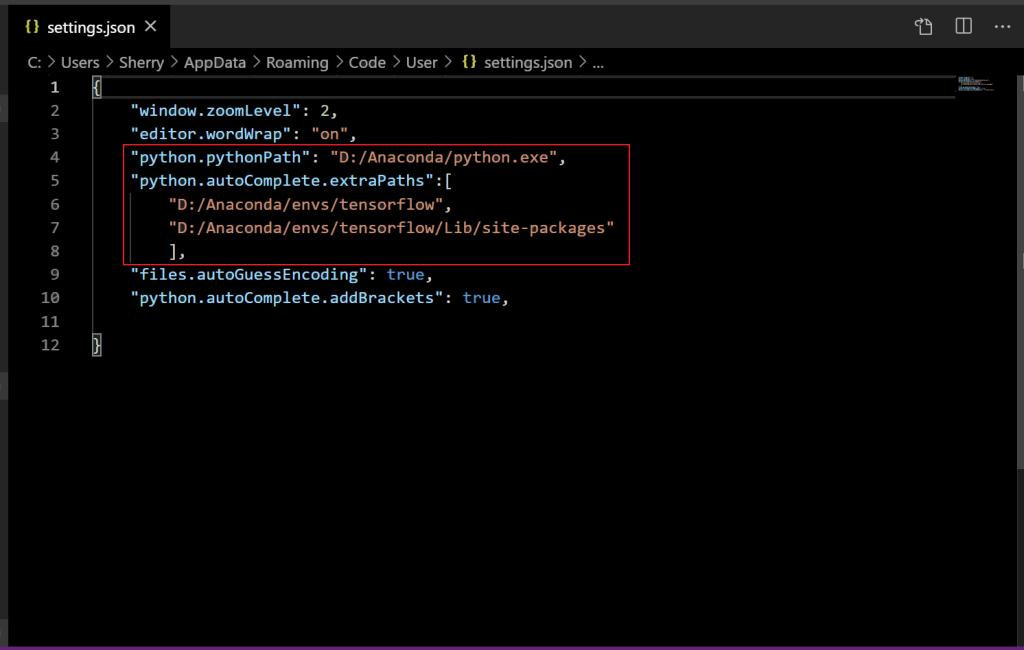
輸入自己的環境參數
python.pythonPath: 安裝 python 的資料夾
python.autoComplete.extraPaths: 昨天創建的新環境資料夾
Customize your own parameters in the red box.
python.pythonPath: the folder that python is installed.
python.autoComplete.extraPaths: the folder that you created yesterday.
3.Test
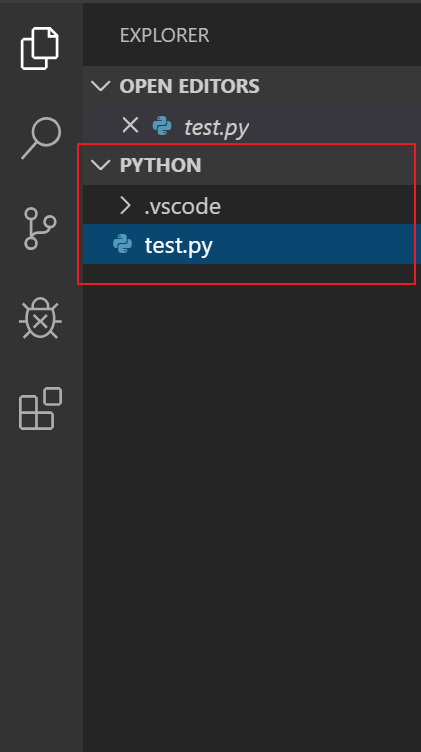
3.1 創建工作區 Create Work Space
3.2 Debug 的地方就會出現你的設定 Your configuration will show in the Dubug
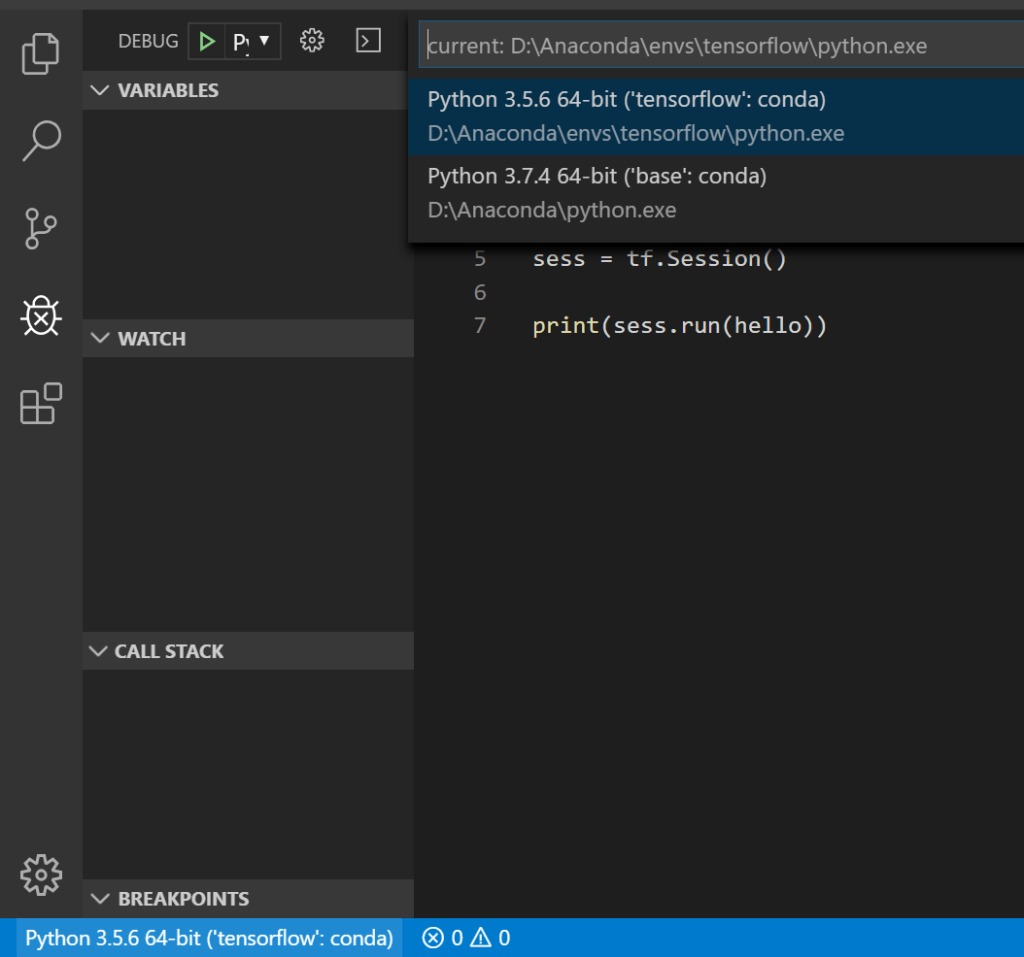
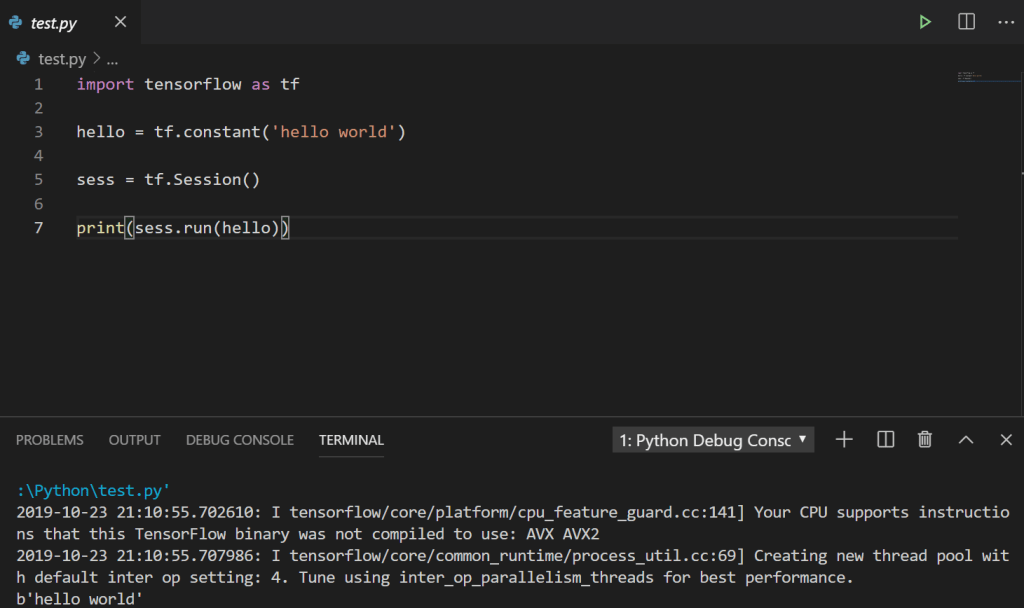
3.3 執行昨天的程式碼 Execute your code
Encounter Problem
在一開始的時候,我並沒有創建我的工作區。我只是新開一個 Python 的檔案,結果我失敗了。我找不到我剛剛的設定,直到我發現必須有工作區,才可以選擇設定。
In the beginning, I didn’t create my own work space. I just created a .py file, and it’s failed. I can’t find my configuration until I found out it needed to created the work space before selected your configuration.
Wise men learn by other men’s mistakes; fools by their own.
-MsHe
